The dead lift has been considered for decades the grandfather of all weightlifting. It works nearly every muscle in the body from shoulders to toes. Frederic Delavier, in his class exercise handbook Strength Training Anatomy, put it this way:
“[The dead lift] works nearly every muscle in the body and is effective for developing the lumbosacral and trapezius muscles. It also works the gluteal muscles and quadriceps intensely.”
While it is a terrific overall exercise, it is one that requires good form. I have searched over and over for articles on good form, which are hard to find for many reasons. There’s two reasons that good dead lift guidelines are hard to find:
- Deadlift is a full body exercise!
- No two bodies are built exactly alike!
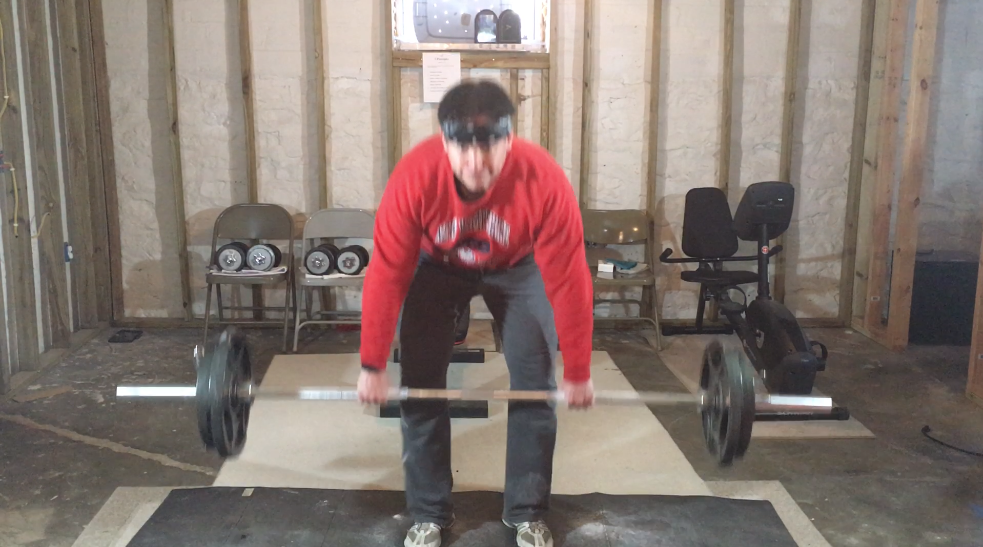
In the YouTube video below, strong man and trainer Alan Thrall explains the 5 step dead lift formula he endorses. To be emphasized, both in his video and about the method in general, this method works regardless of body type. To illustrate, I’ve included pictures of my dead lift workout today with my 6’5″ frame along with each step below.
Each of the five steps, along with my workout pictures from today, are included below:
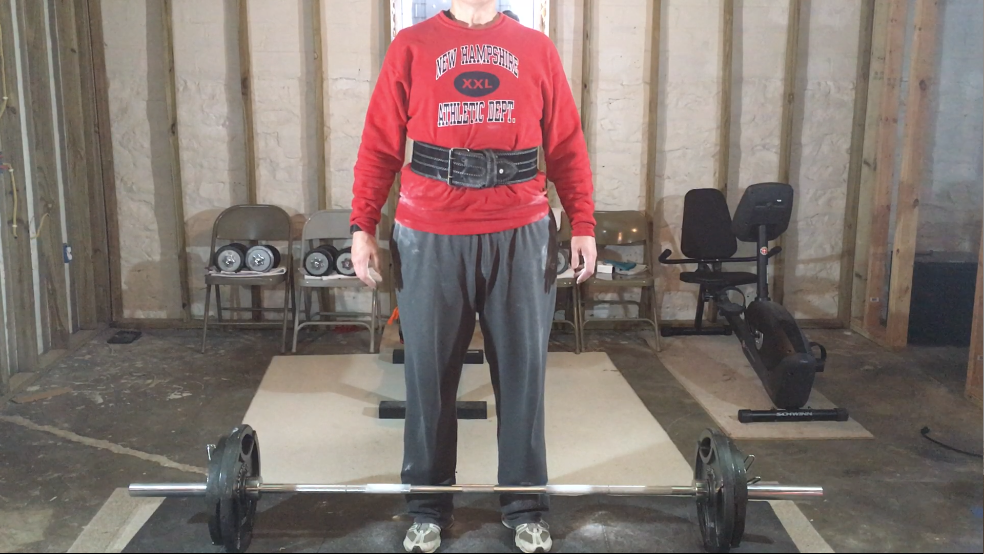
1. Barbell over mid-foot.
The key to lifting heavy weights and avoiding injury begins with a simple principle; keep the weight over mid-foot from beginning to end of the lift. Whatever you do, do not let the weight sway forward pulling you out over your knees, or backward putting undo strain on your lower back. The weight starts over mid-foot and goes straight up!
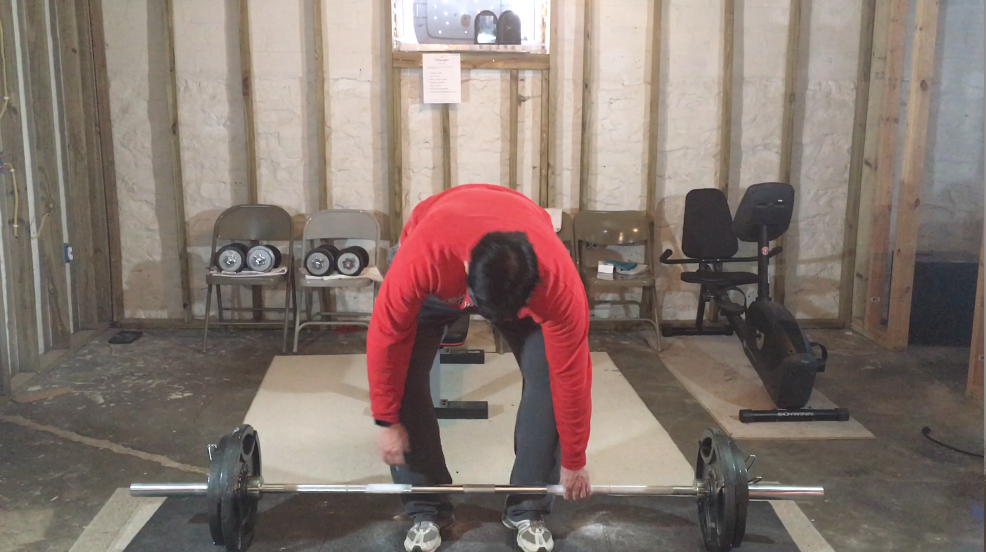
2. Place hands on barbell
If you are tall like me (6’5″) it may seem a bit of a strain to now lean straight down and place your hands on the barbell, but this is essential to putting yourself in the right position to begin the lift. Without moving the bar, put your hands on the barbell. Once there, you’ll want to shift your mindset to your legs and buttocks.
3. Bring shins to the barbell
Notice that as I lower my butt to the ground the knees bend forward and the shins touch the bar. You will want to feel the tension in your upper legs, hips and butt as you load the body spring for the initial upward movement.
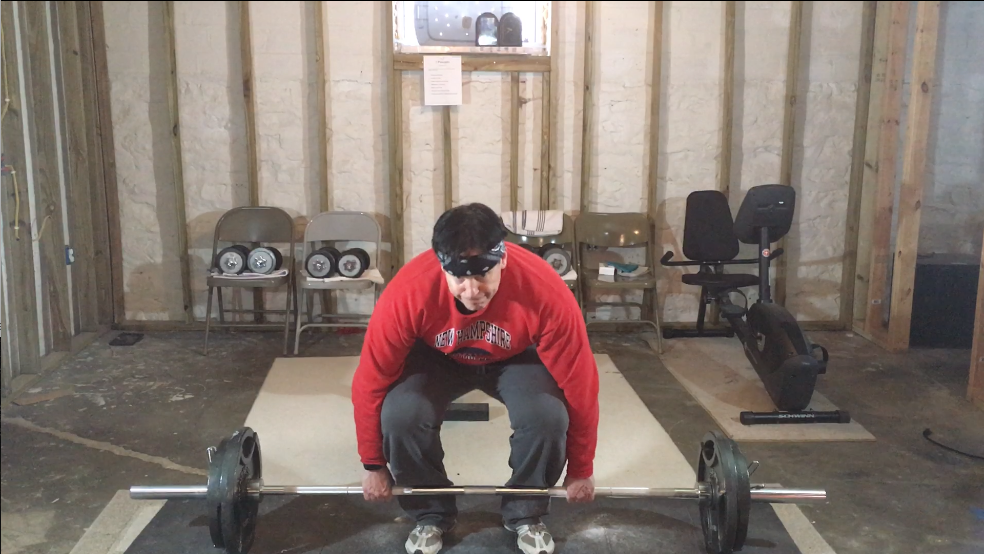
4. Squeeze your chest out.
It is vital that, just prior to beginning the pull upward, you put your torso in the proper position for lifting this heavy weight. As you lift your back should be straight, and there’s no better way to initialize the straight back from this position than by squeezing your chest out. You will begin to feel upward pressure with your hands on the barbell as the back joins in the body spring already formed by the upper legs, hips, and butt.
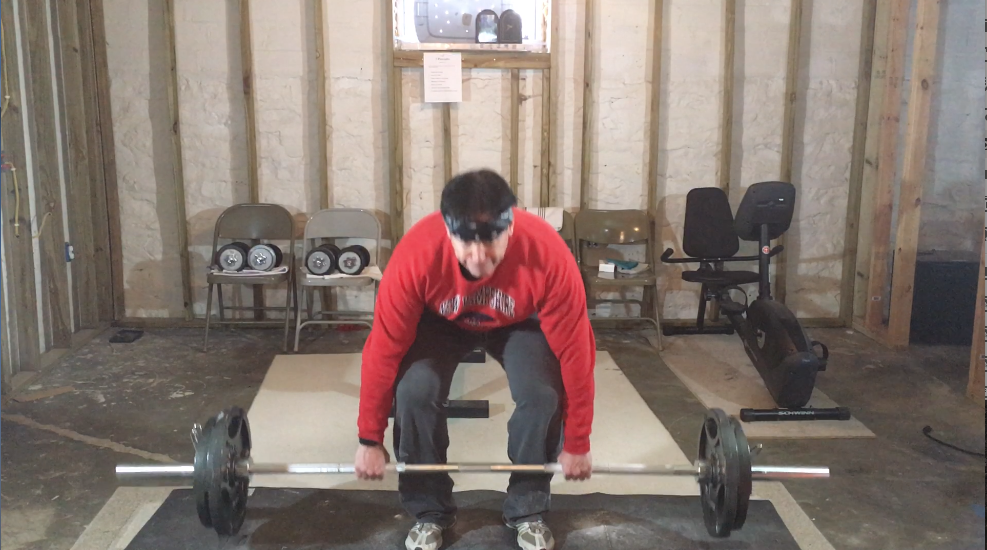
5. Drag the barbell up your body.
Keep your chest out and your back straight, lift the bar straight up your body. The bar may even rub against your shins slightly as your legs begin to straight in the initial part of the lift.
As the bar raises to just above the knees, it should be very close to your thighs and right below your chest. There should be a vertical lign formed from your chest to the bar to your mid-foot where the bar began.

Finishing straightening up your torso only as the bar approaches a few inches within its high point. Keep your back neutral until this last movement – at which time your back is still straight but merely straightens to align with your torso.

